Milestone 2: AD and vCenter
Steps
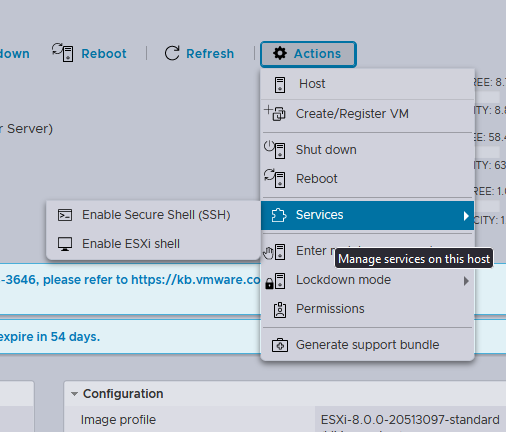
Enable SSH
SSH into ESXI from mgmt1 and go into vmfs/volumes
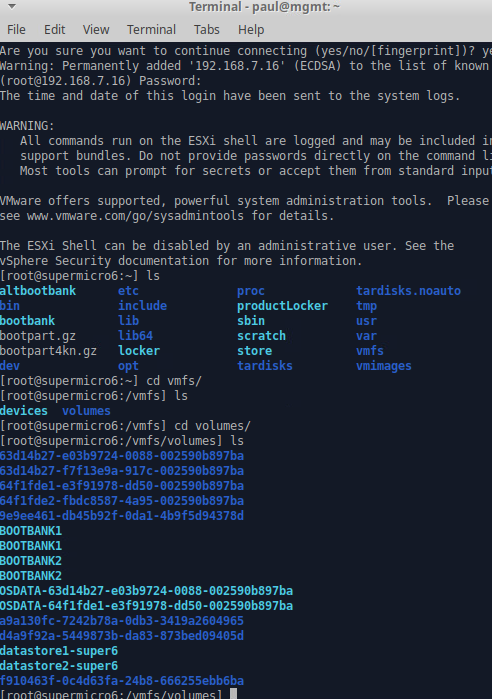
The navigate into datastore2-super6/ISO
Now wget SERVER 19 I already had vCenter ISO in my data store so I didn’t need to get that

Make Server 19 vm
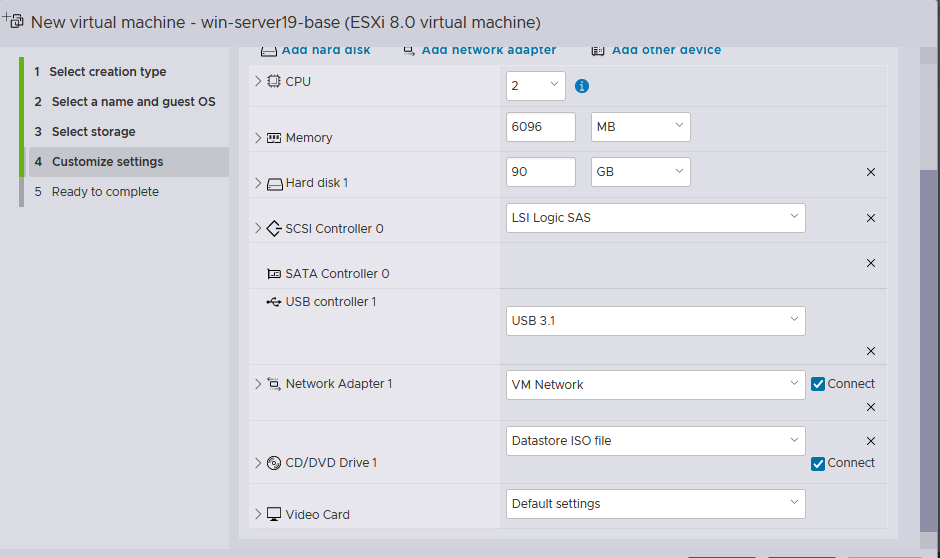
Installing Server 19
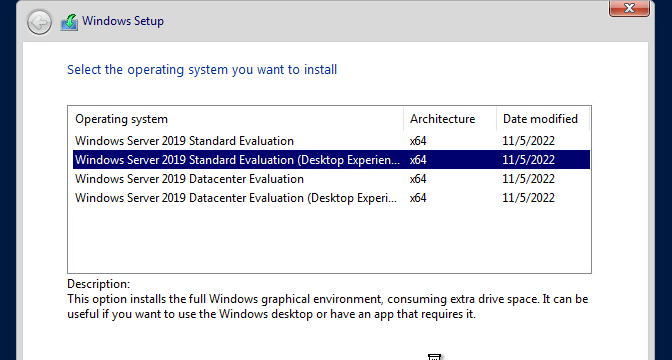
Custom install then select
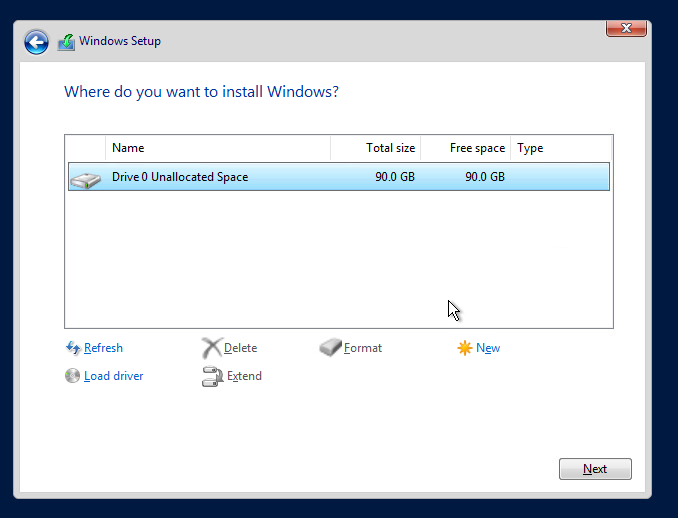
One you reach this screen press control+shift+f3 to enter audit mode
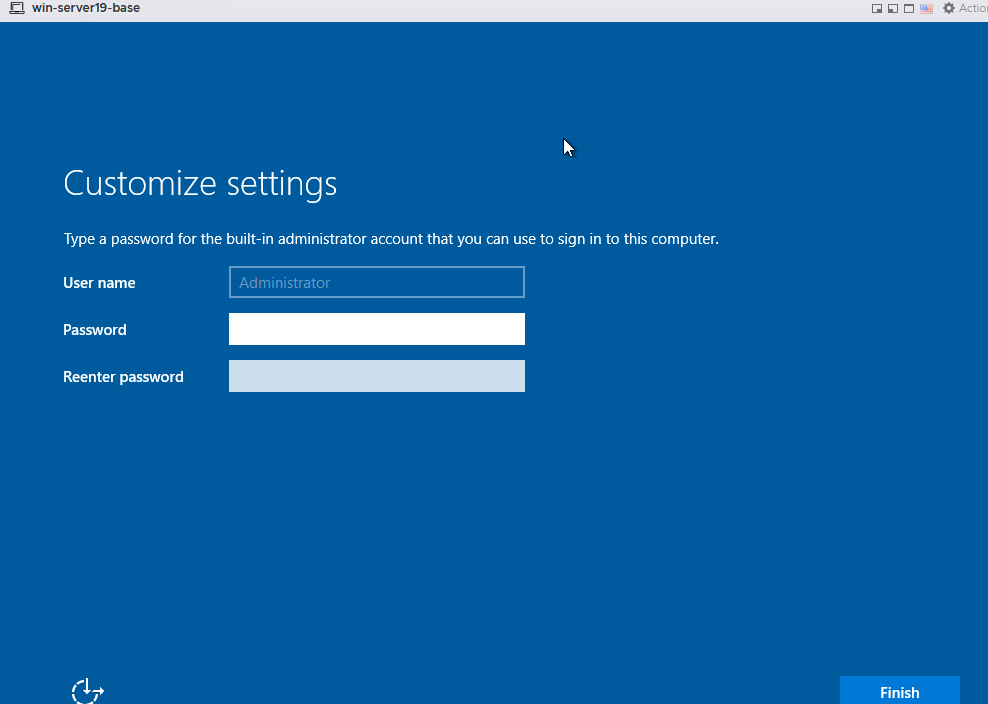
Open powershell and type sconfig
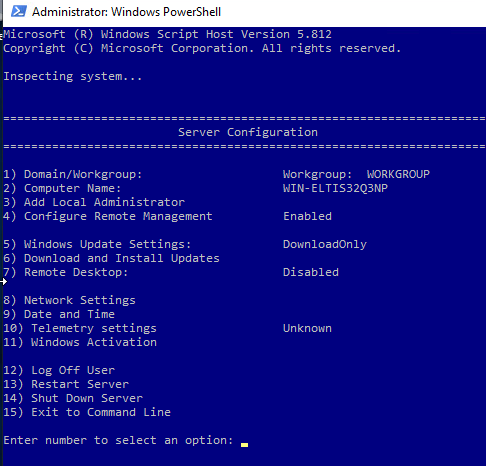
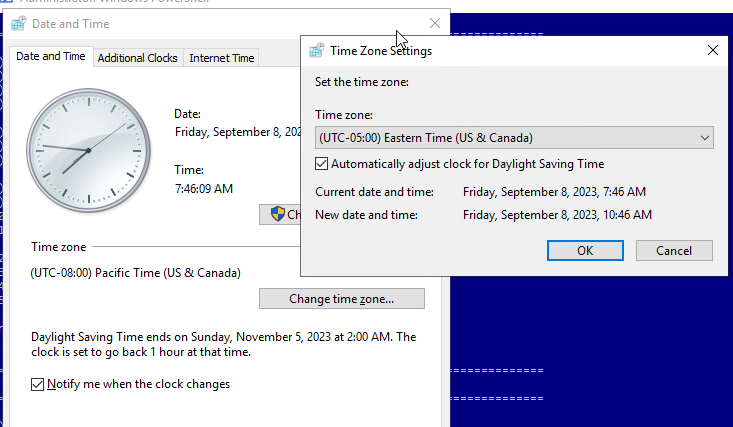
Press 5 to set update pattern for windows and set them to manual once done. Then press 9 and set to eastern. After that press 6 and download updates. Now restart the machine and install vmware tools
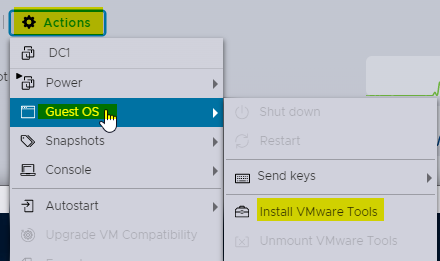
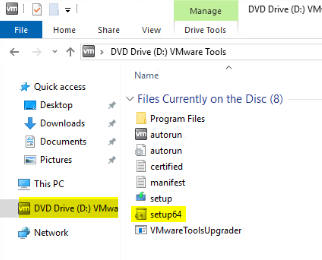
Then do typical install
Next grab the sysprep script
wget https://raw.githubusercontent.com/gmcyber/480share/master/ssh-prep.ps1 -OutFile windows-prep.ps1

Take Base snapshot
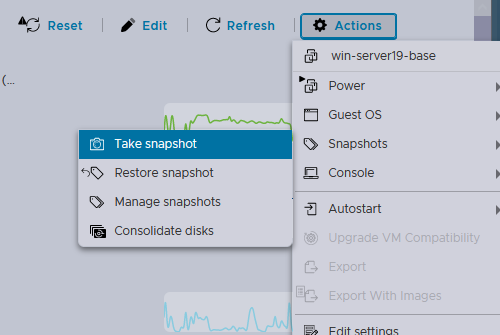
Name the snapshot base
Installing ADDS:
Change the network adapter to 350-Internal
Set Admin passwd
Configure network
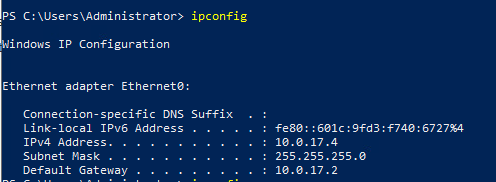
Rename Computer (Do this before forest install)
Rename-Computer -newName "dc1-paul"
Reboot
The command below will show all windows features are installed and can be installed
Get-WindowsFeature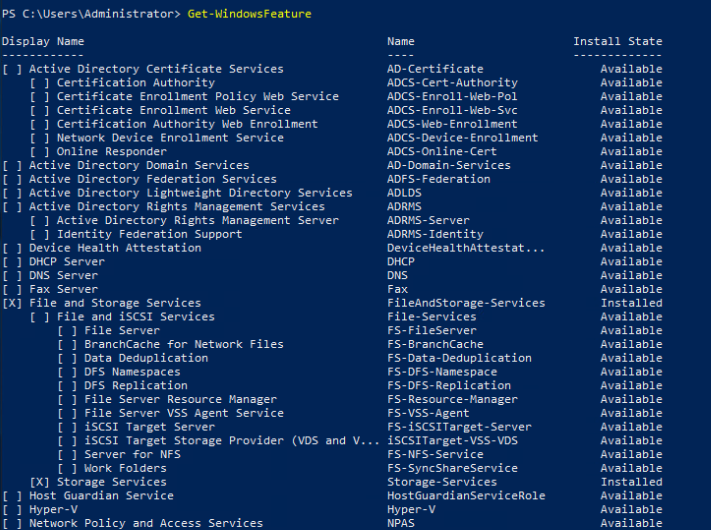
Install-WindowsFeature -Name AD-Domain-Services -IncludeManagementTools
To view see available module commands you can run
Get-Command -Module ADDSDeployment
Install Forest:
Install-ADDSForest -DomainName "paul.local"
The machine will reboot after this
Showing domain is working
Get-ADDomain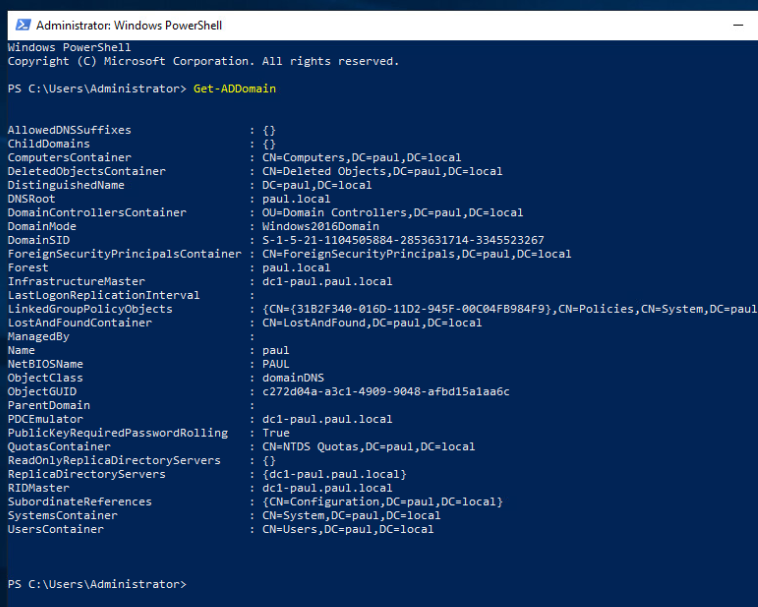
New Domain Admin User:
$pw = Read-Host -Prompt 'Enter a Password for this user' -AsSecureString
New-ADUser -Name paul-adm -AccountPassword $pw -Passwordneverexpires $true -Enabled $true
Add-ADGroupMember -Identity "Domain Admins" -Members paul-adm
Install DNS:
Get-WindowsFeature | where {($\_.name -like “DNS”)}
Install-WindowsFeature DNS -IncludeManagementTools
Reverse DNS Zone Creation:
Add-DnsServerPrimaryZone -NetworkId “10.0.17.0/24” -ReplicationScope “Domain”
Create A type with PTR:
Add-DnsServerResourceRecordPtr -Name "FW01-paul" -ZoneName "paul.local" -AllowUpdateAny -IPv4Address “10.0.17.2” -TimeToLive 01:00:00 -CreatePtr
Install vCenter:
Add iso to mgmt box

Cd into media and go to the VMware VCSA directory then make your way to the installer
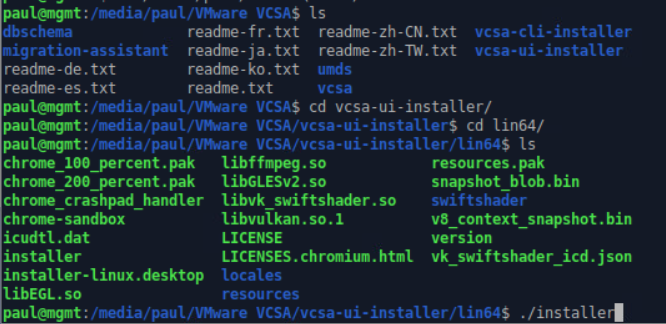
Stage 1:
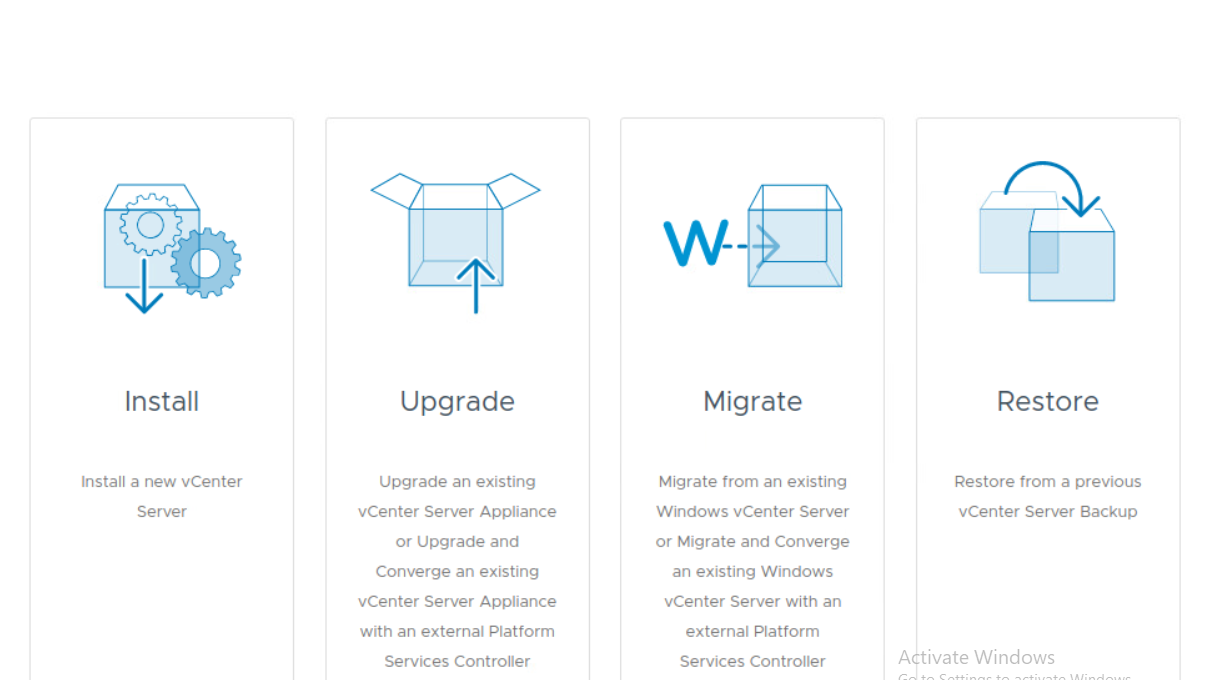
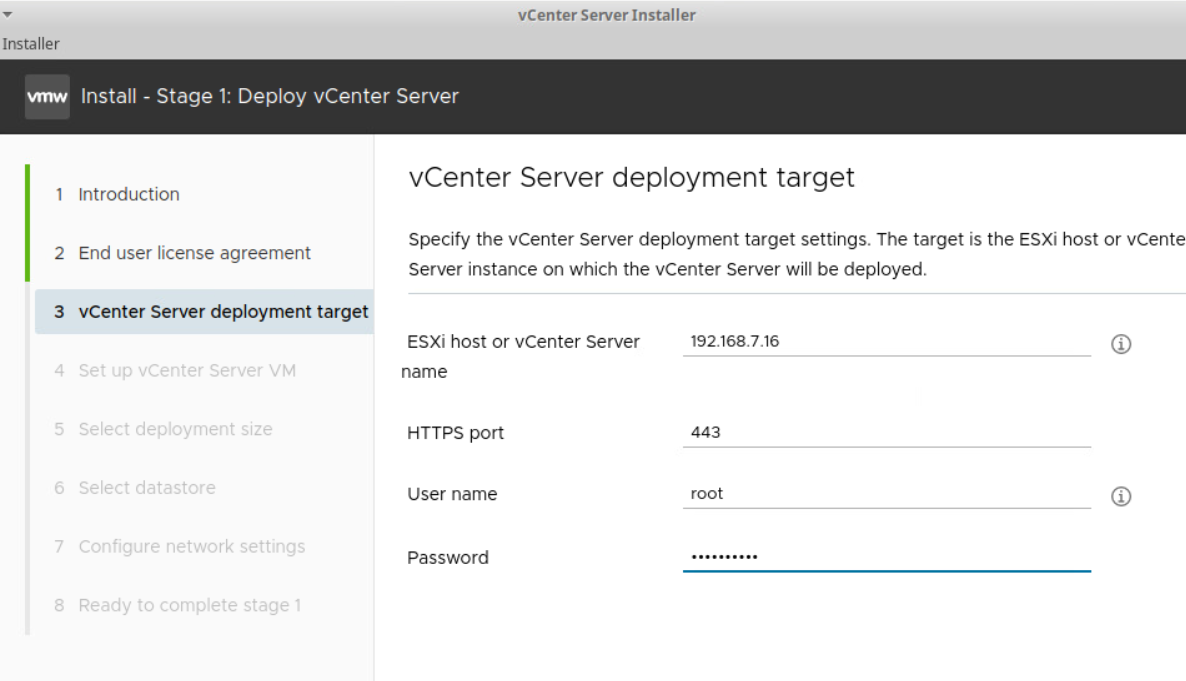
Click yes on ssl warning
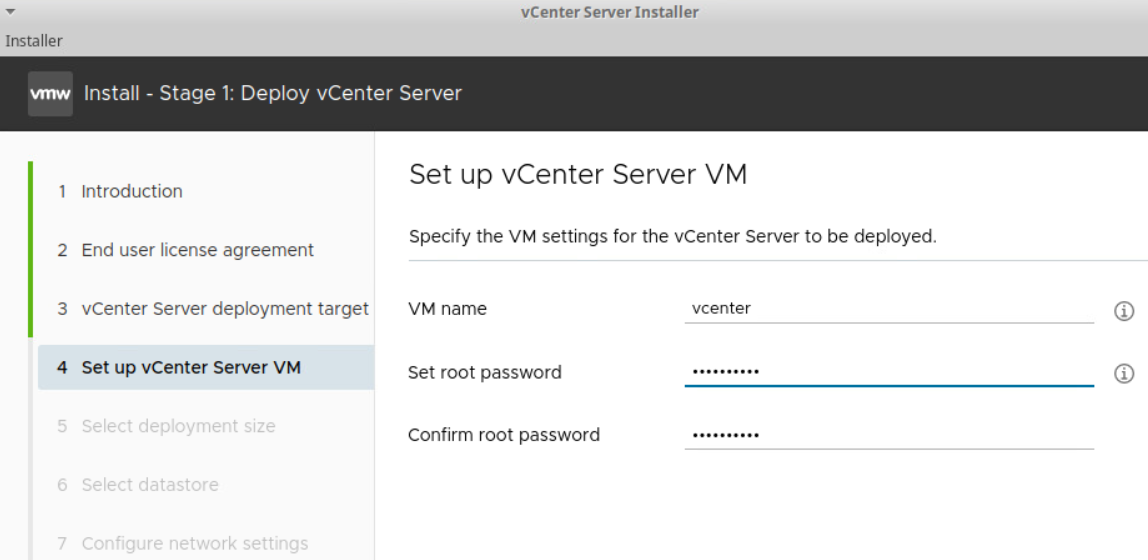
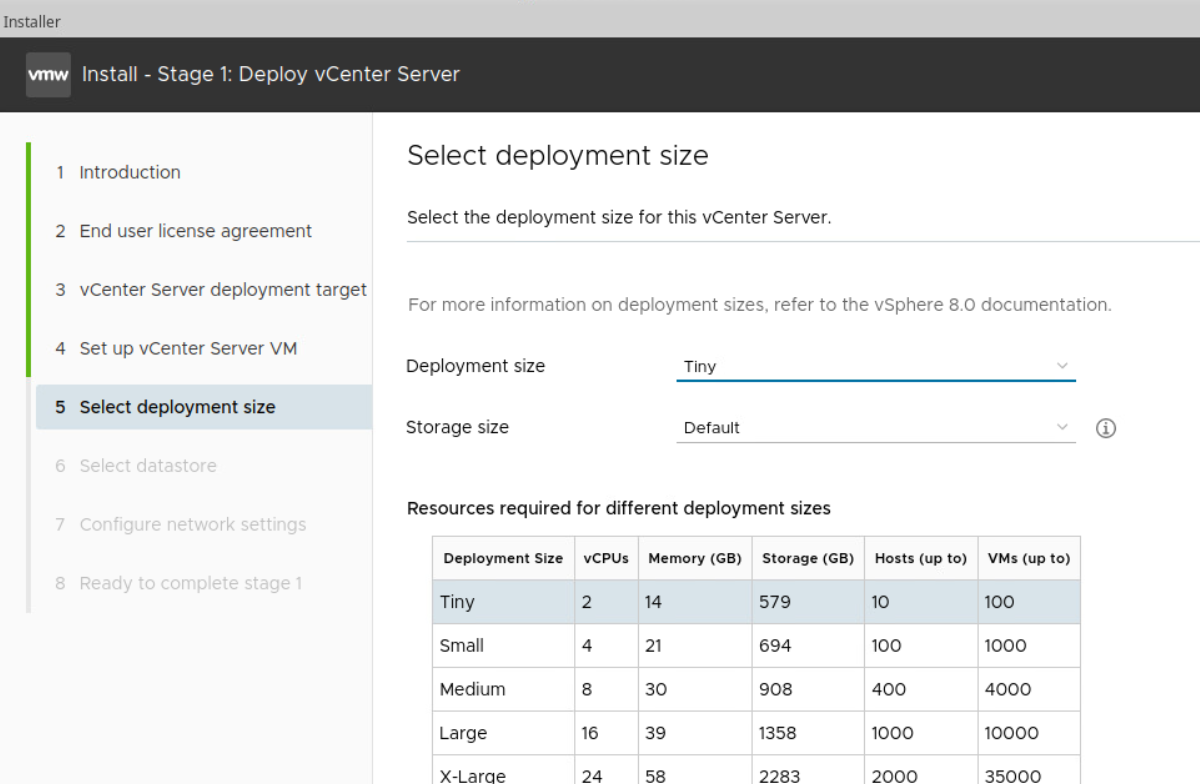
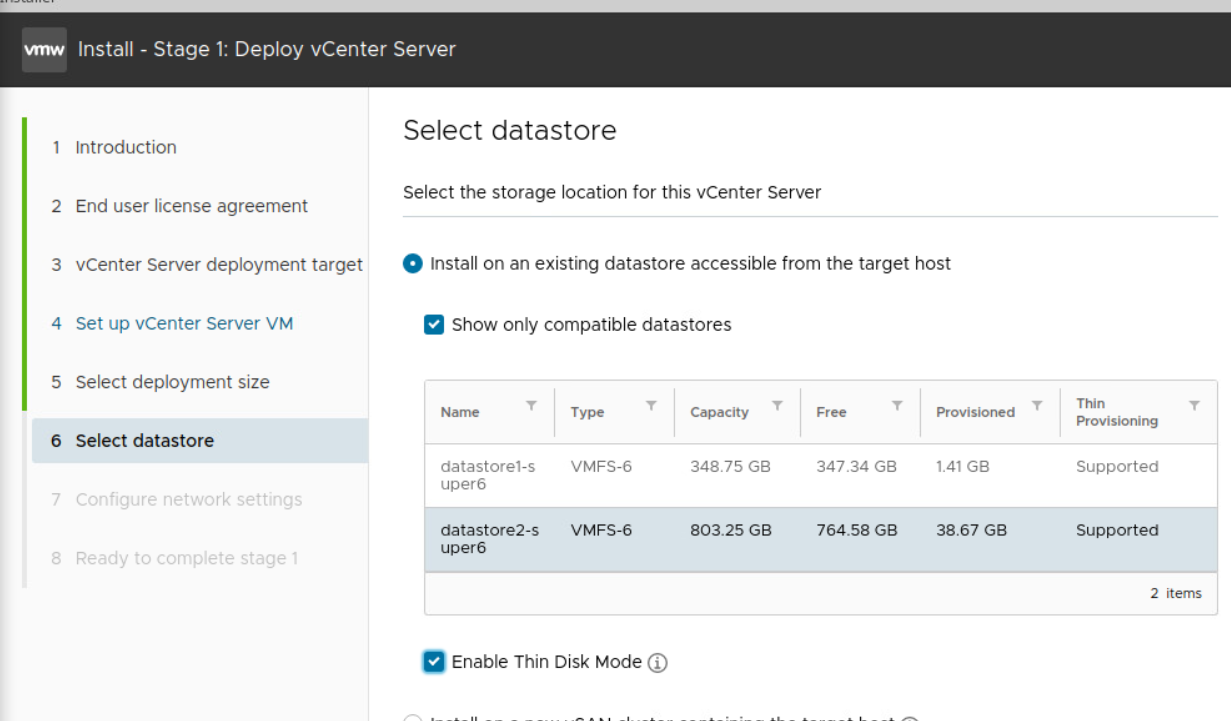
Leave all default but select “Enable Thin Disk Mode”
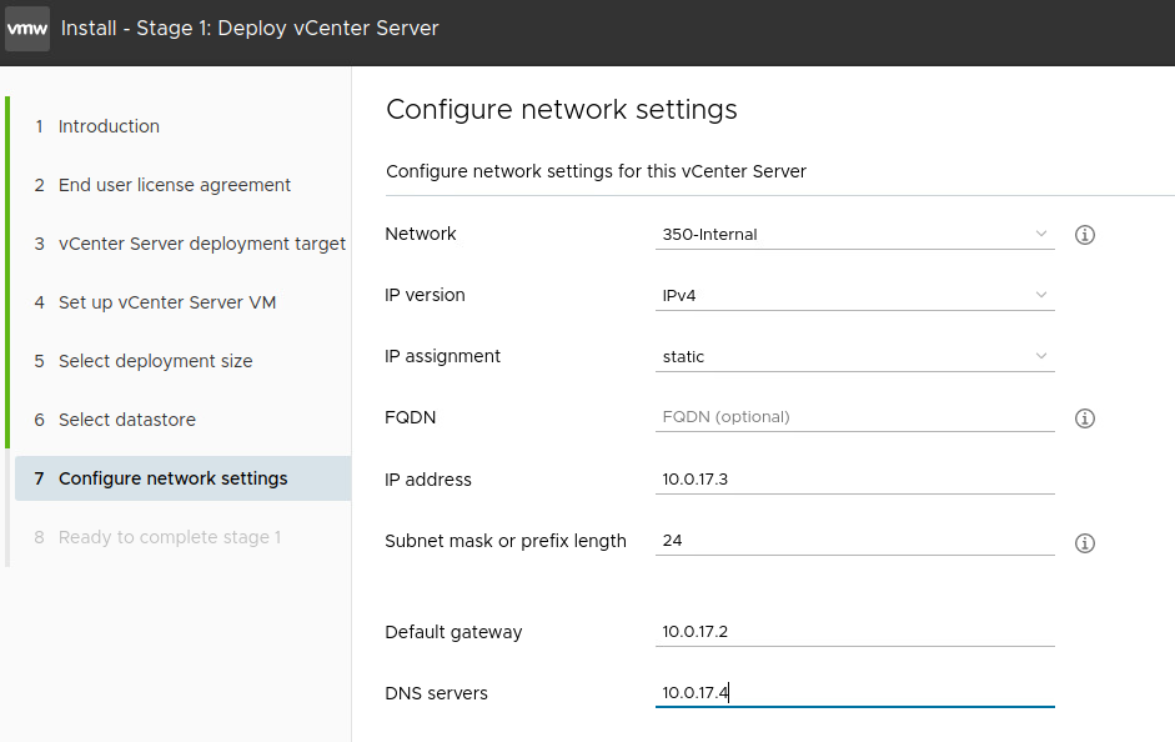
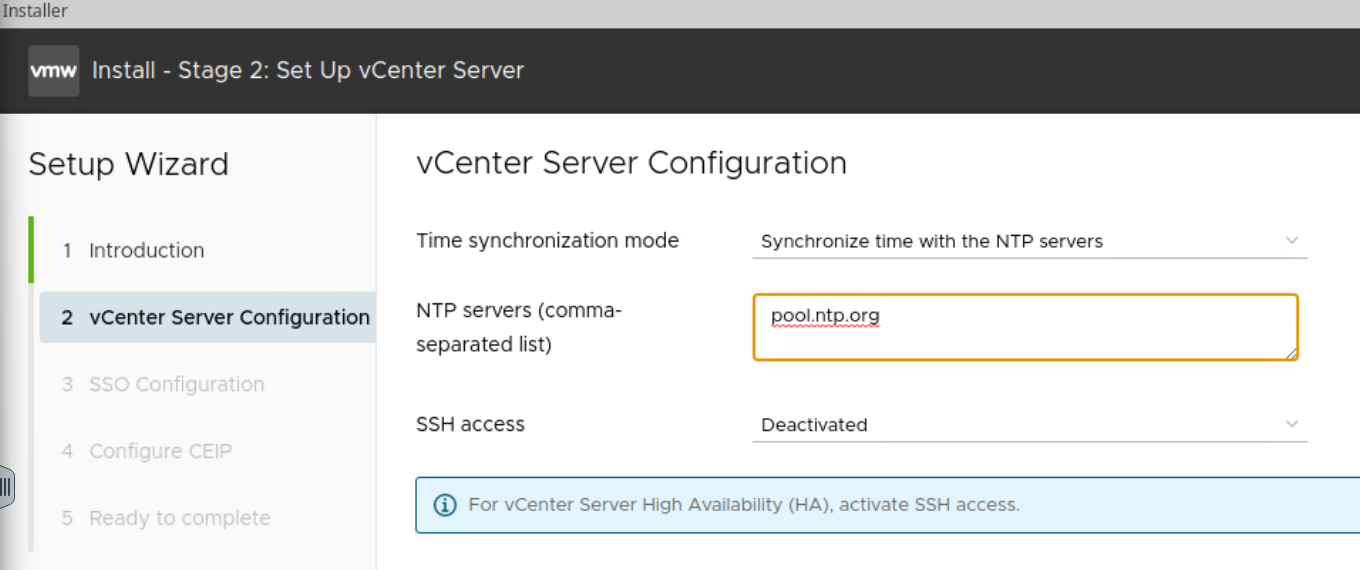
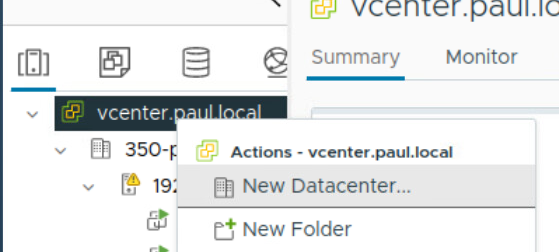
Add how to add datacenter
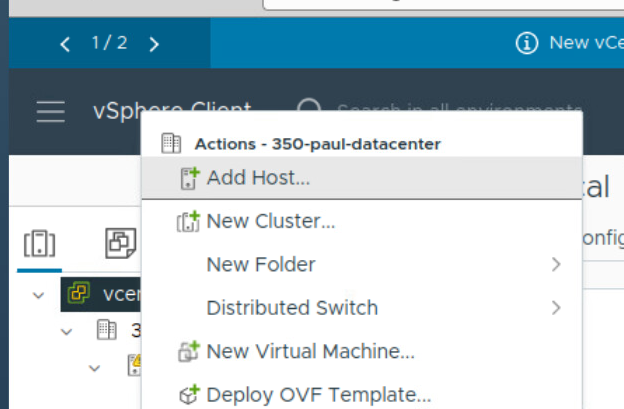
Add how to add host
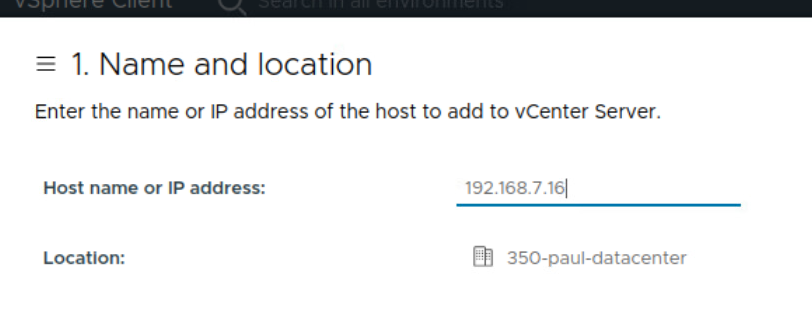
Add ESXi IP
Finish rest of steps
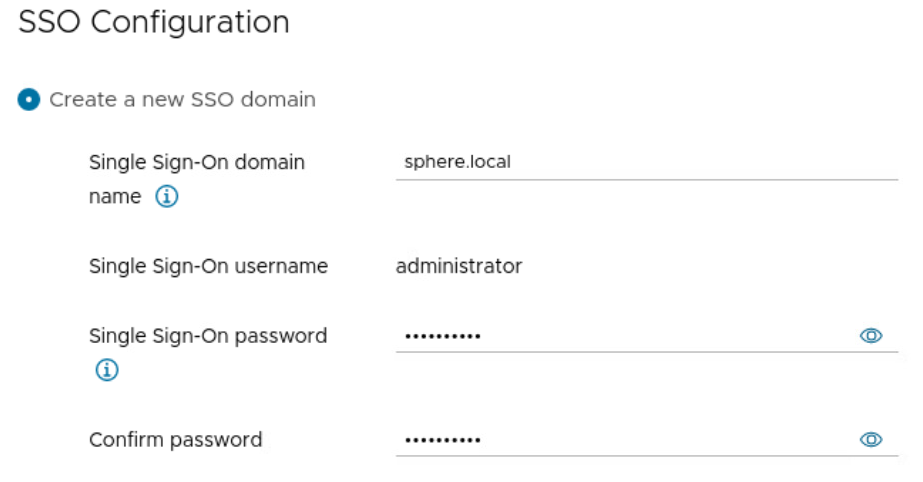
SSO Setup
Join Domain:
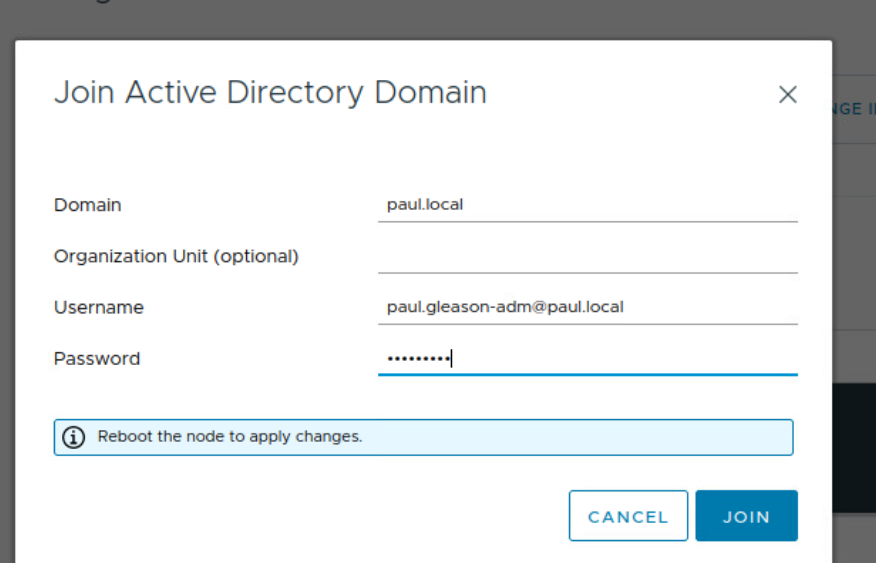
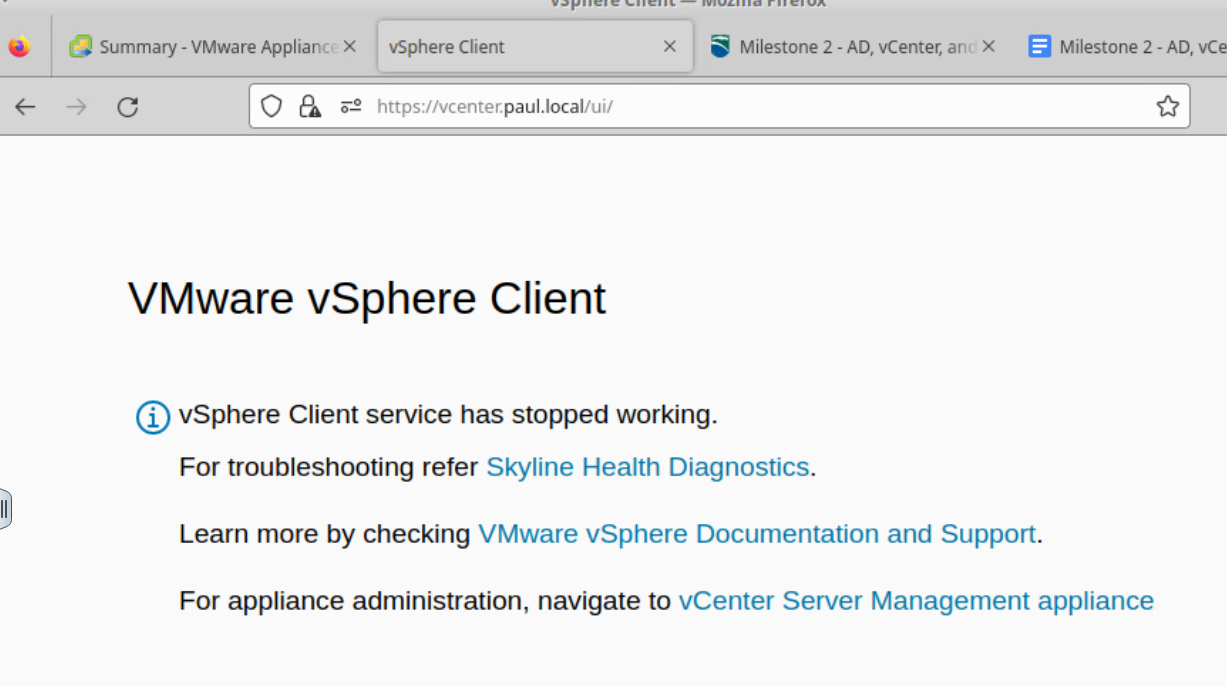
After this reboot vcenter it will die for about 20 minutes…
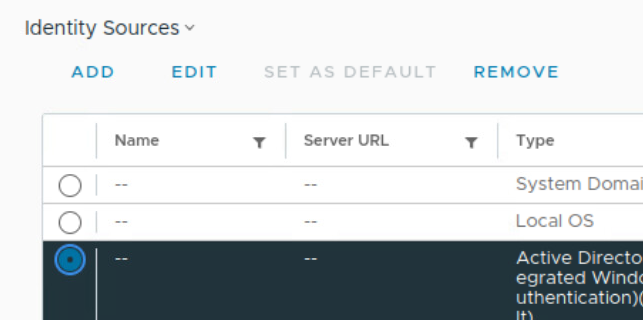
Set Domain as default
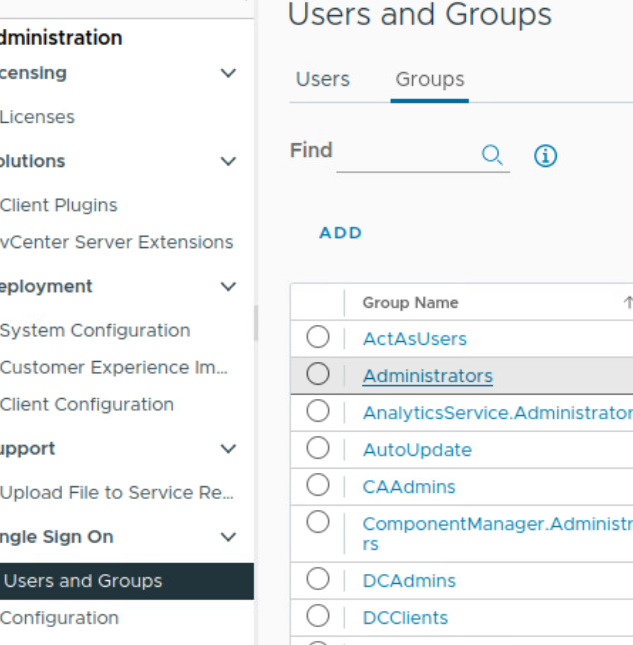
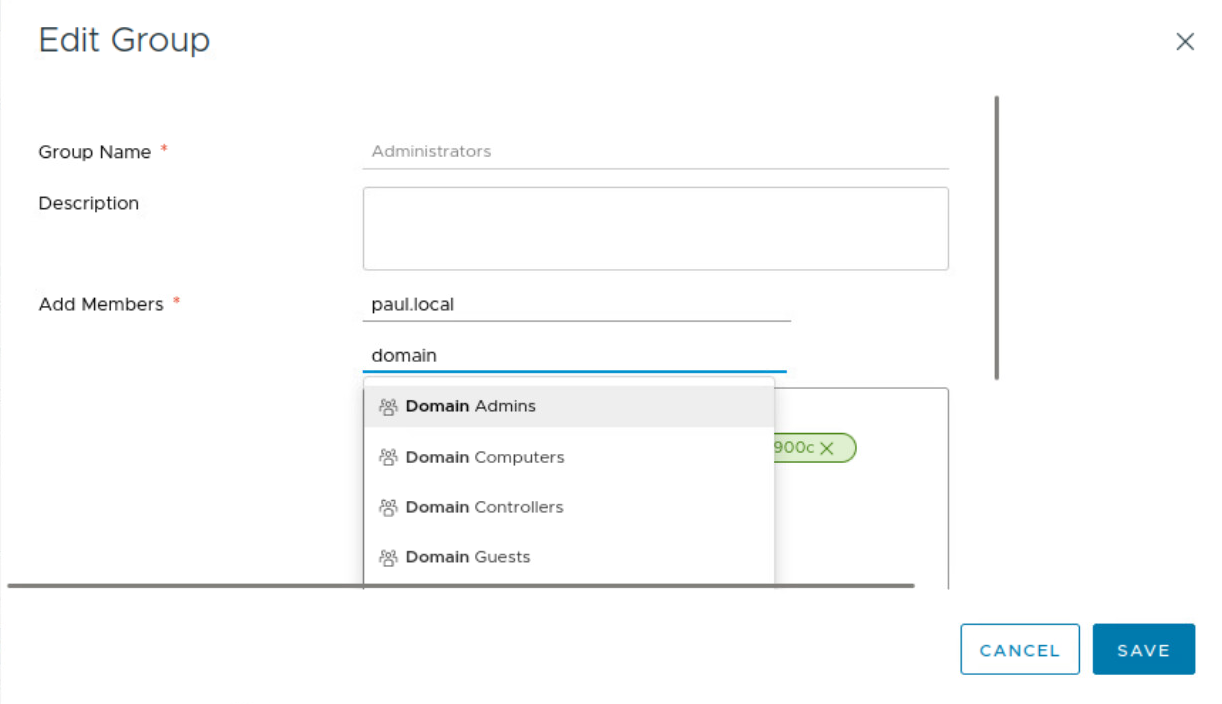
Now add domain admins to the administrators group
